scripts
服务器连接方式
1·可以通过powershell连接

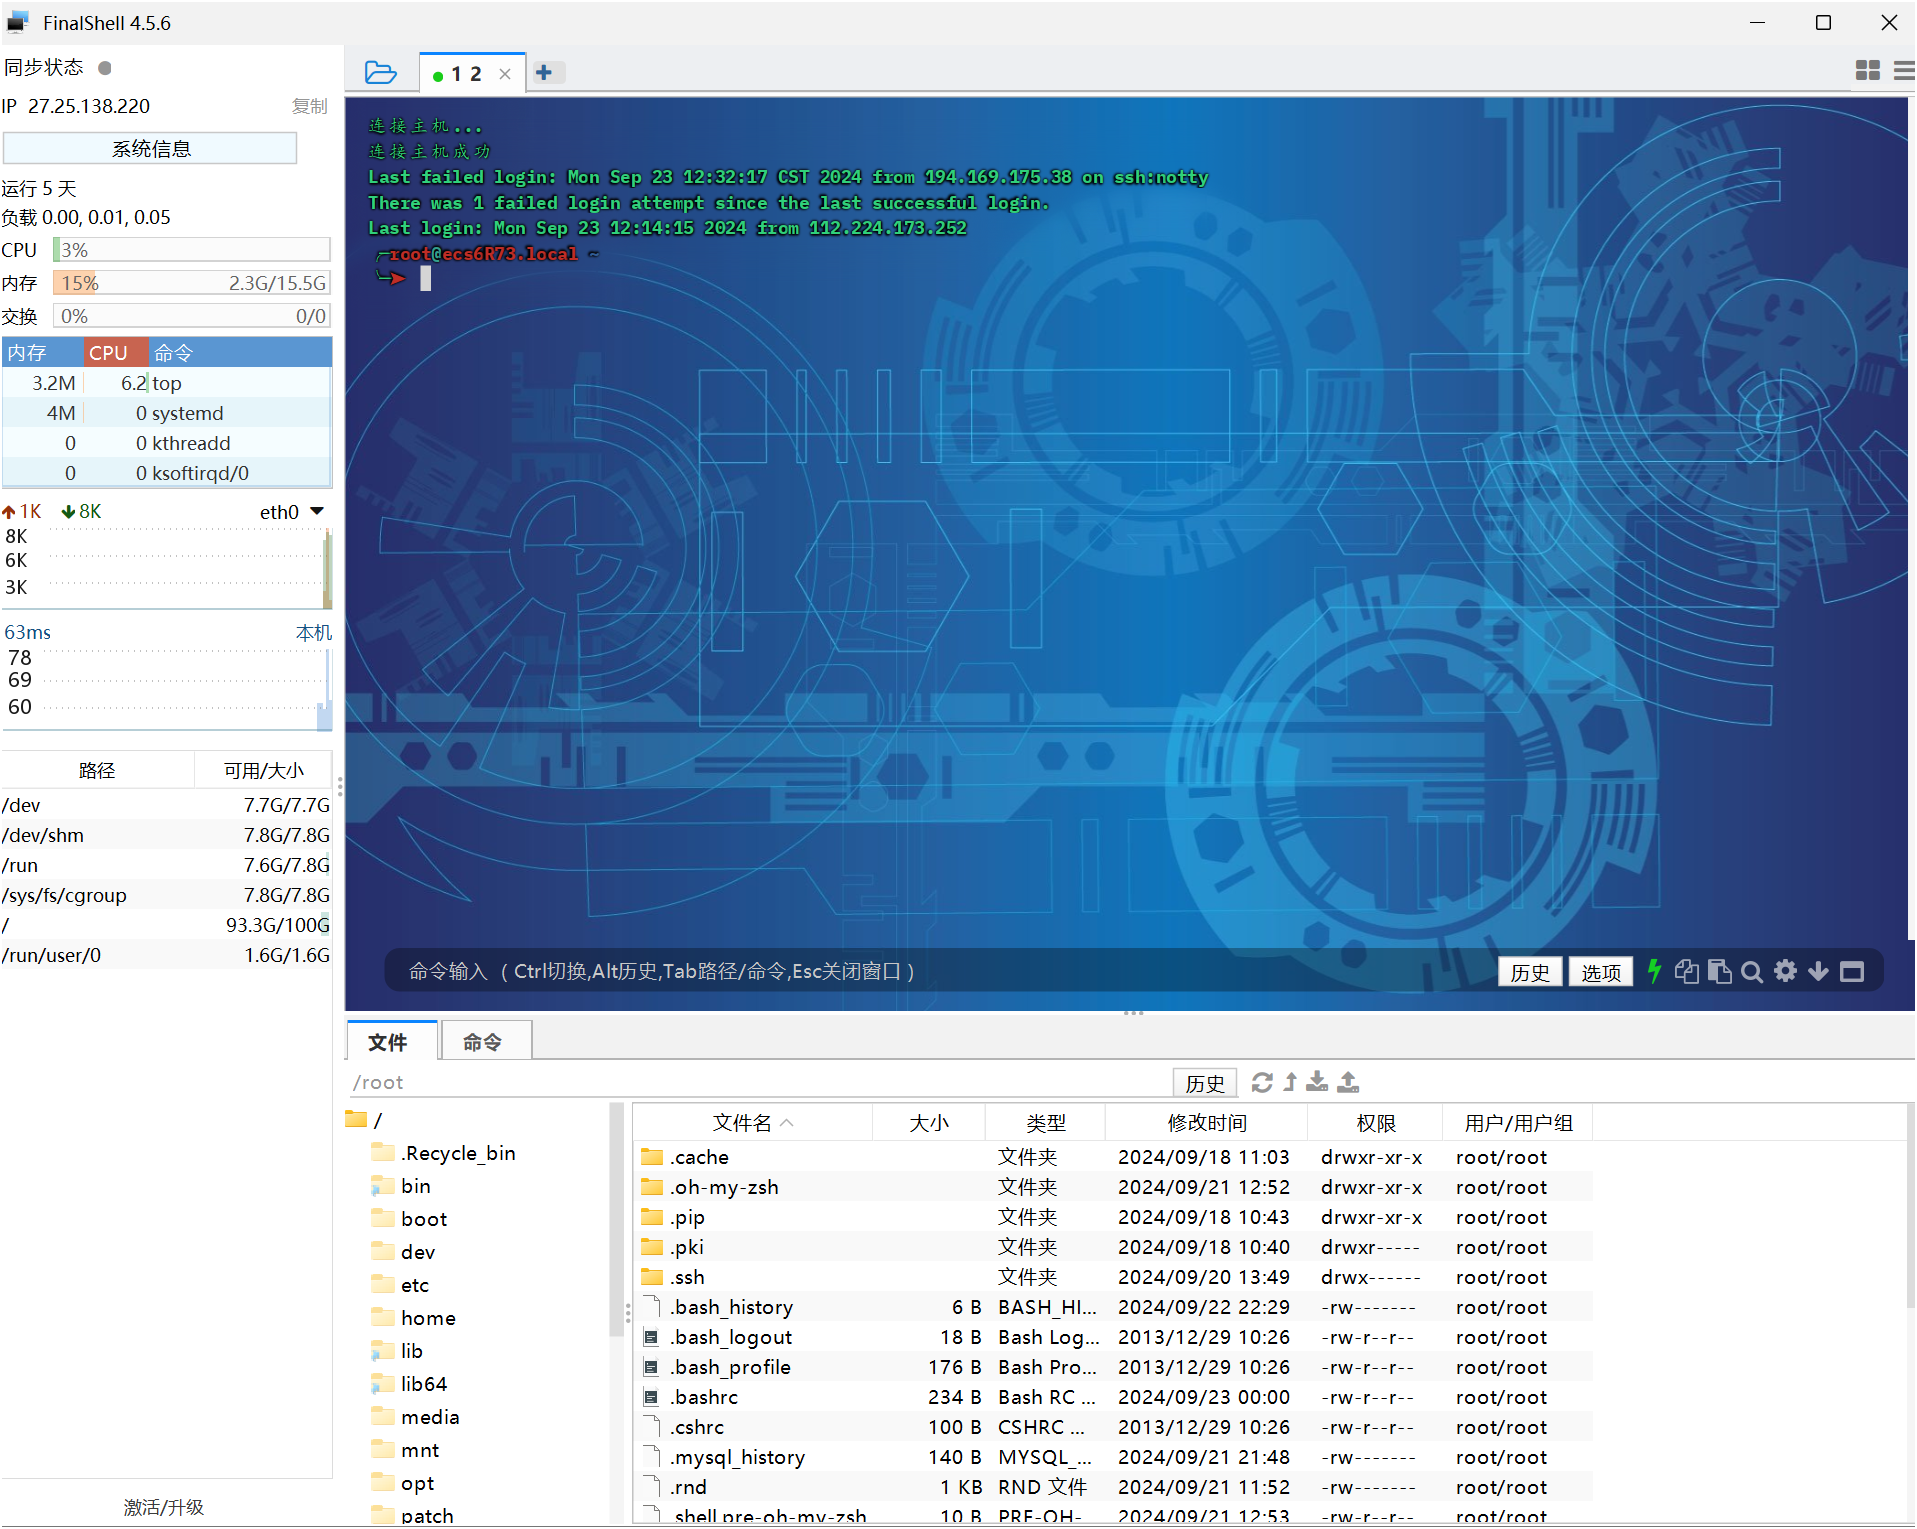
2·可以通过finalshell连接
3·可以通过vscode插件连接
powershell快捷连接方式
iwr -Uri "https://raw.githubusercontent.com/kukuqi666/scripts/main/ssh.ps1" -OutFile "C:\ssh.ps1" -UseB
注意这将下载到C盘下面 请自行编辑里面的服务器用户名和ip保存后使用
国内云服务器访问 GitHub
- 使用 GitHub 镜像站
镜像站是 GitHub 的内容副本,可以通过以下镜像站加速访问:
GitHub 镜像站 :
    https://github.com.cnpmjs.org/
    https://hub.fastgit.org/
    https://github.wuyou.workers.dev/
- 修改 Hosts 文件
通过手动修改 hosts 文件,直接解析 GitHub 域名到更快的 IP 地址。可以通过以下步骤操作:
打开 https://www.ipaddress.com/,输入 github.com,获取 GitHub 的最新 IP
编辑云服务器的 hosts 文件: ``` sudo vim /etc/hosts ```
添加 GitHub 相关的 IP 地址:
    140.82.114.4 github.com
    185.199.108.153 assets-cdn.github.com
    151.101.185.194 github.global.ssl.fastly.net
保存并退出,刷新 DNS 缓存。
- 使用 CDN 加速
一些第三方服务提供了 GitHub 文件的 CDN 加速,比如:
jsDelivr :它可以用于 GitHub 资源的加速加载,尤其是前端
    https://cdn.jsdelivr.net/gh/{username}/{repository}@{version}/{path}

    GitHub Releases 镜像加速 :一些镜像网站可以加速 GitHub Release 文件的下载:
        https://ghproxy.com/
        https://gh.api.99988866.xyz/
-
使用 Git 工具的加速方法
可以使用 git clone 时通过 –depth 参数限制拉取的历史记录,减少数据量:
git clone --depth=1 https://github.com/username/repo.git
如果只是为了查看代码,可以通过 GitHub 的 API 获取内容,避免克隆完整的历史记录。
Zsh 安装与配置,使用 Oh-My-Zsh 美化终端
完整版教程请打开说明文档
在终端显示系统logo和信息(neofetch和screenfetch)
安装方法
通过包管理工具
ubuntu:apt install neofetch screenfetch

centos: yum install neofetch screenfetch
安装完以后再终端打对应命令就会出来
通过手动下载
wget -O /usr/local/bin/neofetch https://raw.githubusercontent.com/kukuqi666/scripts/main/neofetch/neofetch

wget -P /usr/local/bin/ https://raw.githubusercontent.com/kukuqi666/scripts/main/screenfetch/screenfetch

chmod +x /usr/local/bin/neofetch && chmod +x /usr/local/bin/screenfetch
安装完以后再终端打对应命令就会出来
/usr/local/bin目录是用户放置自己可执行程序的地方,不会被系统升级而覆盖同名文件 /usr/bin下面都是系统预装的可执行程序,会随着系统升级而改变
在zsh终端启动时自动运行neofetch或screenfetch 下面以neofetch为例
vim ~/.zshrc
在末尾添加neofetch保存并退出
source ~/.zshrc
这样每次打开一个新的终端窗口或标签时neofetch会自动运行并显示系统信息
安装自己编写的可执行程序脚本
wget https://raw.githubusercontent.com/kukuqi666/scripts/main/system/systeminfo

wget https://raw.githubusercontent.com/kukuqi666/scripts/main/system/Top

ubuntu安装:

wget https://raw.githubusercontent.com/kukuqi666/scripts/main/system/Ufw

centos安装:

wget https://raw.githubusercontent.com/kukuqi666/scripts/main/system/Firewalld

chmod +x systeminfo Top Ufw Firewalld

mv systeminfo Top Ufw Firewalld /usr/local/bin
最后就可以通过命令行直接运行这4个脚本了
filebrowser安装
linux安装
curl -fsSL https://raw.githubusercontent.com/filebrowser/get/master/get.sh | bash
windows安装
iwr -useb https://raw.githubusercontent.com/kukuqi666/scripts/main/filebrowser/get.ps1 | iex
参考说明文档
Linux换源(CentOS7为例)
bash <(curl -sSL https://raw.githubusercontent.com/kukuqi666/scripts/main/linuxmirrors/main.sh) --source aliyun

yum clean all && yum makecache
ubuntu换一键国内源
bash <(curl -sSL https://raw.githubusercontent.com/kukuqi666/scripts/main/Ubuntu 换源/ChangeMirrors.sh)
Ubuntu 安装 Anaconda3
1.从清华大学开源软件镜像站下载最新版本的 Anaconda3并安装
wget -c 'https://repo.anaconda.com/archive/Anaconda3-2023.09-0-Linux-x86_64.sh' -P ~/Downloads

chmod +x Anaconda3-2023.09-0-Linux-x86_64.sh

./Anaconda3-2023.09-0-Linux-x86_64.sh
2.阅读并接受安装协议:按 Enter 键阅读协议,直到出现 Do you accept the license terms? [yes|no],输入 yes 并继续 确认安装位置:按 Enter 键选择默认安装目录。 初始化 Anaconda:根据提示输入 yes 完成初始化。 配置环境变量 如果安装后提示 conda: 未找到命令,需要将 Anaconda 的路径添加到 .bashrc或.zshrc 文件中
echo 'export PATH="/root/anaconda3/bin:$PATH"' >> ~/.zshrc
source ~/.zshrc
验证安装
重新打开终端,执行以下命令验证安装是否成功: conda -V python -V
常用命令
查看 conda 版本: conda --version

更新 conda: conda update conda

新建虚拟环境: conda create --name myenv python=3.8

激活虚拟环境: conda activate myenv

退出虚拟环境: conda deactivate
docker安装
bash <(curl -s -L https://raw.githubusercontent.com/kukuqi666/scripts/main/docker/install.sh)
参考说明文档
Debian/Ubuntu从软件源一键安装 安装Docker
apt install -y docker.io docker-compose
自启动Docker
systemctl enable --now docker
Docker官方一键安装脚本 使用官方源安装(国内直接访问较慢)
curl -fsSL https://get.docker.com | bash
使用阿里源安装
curl -fsSL https://get.docker.com | bash -s docker --mirror Aliyun
使用中国区Azure源安装
curl -fsSL https://get.docker.com | bash -s docker --mirror AzureChinaCloud
自启动Docker
systemctl enable --now docker
一键安装最新版Docker Compose:
COMPOSE_VERSION=`git ls-remote https://github.com/docker/compose | grep refs/tags | grep -oP "[0-9]+\.[0-9][0-9]+\.[0-9]+$" | sort --version-sort | tail -n 1`
sh -c "curl -L https://github.com/docker/compose/releases/download/v${COMPOSE_VERSION}/docker-compose-`uname -s`-`uname -m` > /usr/local/bin/docker-compose"
chmod +x /usr/local/bin/docker-compose
配置国内镜像源 由于镜像服务可能出现宕机,建议同时配置多个镜像。 本节我们以 网易云 镜像服务 https://hub-mirror.c.163.com 为例进行介绍。 对于使用 systemd 的系统,请在 /etc/docker/daemon.json 中写入如下内容(如果文件不存在请新建该文件)
mkdir -p /etc/docker
tee /etc/docker/daemon.json <<-'EOF'
{
    "registry-mirrors": [
        "https://docker.m.daocloud.io",
        "https://docker.nju.edu.cn",
        "https://dockerproxy.com",
        "https://dockerproxy.cn",
        "https://docker.1panel.live",
        "https://docker.hpcloud.cloud",
        "https://dockerpull.com",
        "https://docker.1ms.run",
        "https://y1ncttng.mirror.aliyuncs.com",
        "https://ypzju6vq.mirror.aliyuncs.com",
        "https://hub-mirror.c.163.com",
        "https://mirror.baidubce.com"
    ]
}
EOF
之后重新启动服务。
sudo systemctl daemon-reload
sudo systemctl restart docker
docker compose安装
sudo curl -L "https://github.com/docker/compose/releases/download/2.29.7/docker-compose-$(uname -s)-$(uname -m)" -o /usr/local/bin/docker-compose

sudo chmod +x /usr/local/bin/docker-compose

docker-compose --version
cpolar安装
curl -L https://www.cpolar.com/static/downloads/install-release-cpolar.sh | sudo bash
或
curl -L https://raw.githubusercontent.com/kukuqi666/scripts/main/cpolar/cpolar.sh | sudo bash
ollama安装
curl -fsSL https://ollama.com/install.sh | sh
或
curl -fsSL https://raw.githubusercontent.com/kukuqi666/scripts/main/ollama/install.sh | sh
参考说明文档
caddy安装
bash <(curl -s -L https://raw.githubusercontent.com/kukuqi666/scripts/main/caddy/install.sh)
trojan-go安装
bash <(curl -sSL "https://raw.githubusercontent.com/kukuqi666/scripts/main/hj/trojan-go.sh")
x-ui服务器管理面板安装
bash <(curl -Ls https://raw.githubusercontent.com/kukuqi666/scripts/main/x-ui/install.sh)
xray安装
bash <(wget -qO- -o- https://raw.githubusercontent.com/kukuqi666/scripts/main/Xray-233boy/install.sh)
v2ray安装
bash <(curl -s -L https://raw.githubusercontent.com/kukuqi666/scripts/main/v2ray-233boy/install.sh)

bash <(curl -s -L https://raw.githubusercontent.com/kukuqi666/scripts/main/v2ray-xyz690/install.sh)

bash <(curl -s -L https://raw.githubusercontent.com/kukuqi666/scripts/main/fhs-install-v2ray/install.sh)
sing-box
bash <(curl -s -L https://raw.githubusercontent.com/kukuqi666/scripts/main/sing-box/install.sh)
bash <(curl -fsSL https://raw.githubusercontent.com/kukuqi666/scripts/main/sing-box/deb-install.sh)
bash <(curl -fsSL https://raw.githubusercontent.com/kukuqi666/scripts/main/sing-box/rpm-install.sh)
bash <(curl -fsSL https://raw.githubusercontent.com/kukuqi666/scripts/main/sing-box/arch-install.sh)
nvm安装
curl -o- https://raw.githubusercontent.com/kukuqi666/scripts/main/nvm/install.sh | bash
wget -qO- https://raw.githubusercontent.com/kukuqi666/scripts/main/nvm/install.sh | bash
yarn安装
curl -o- https://raw.githubusercontent.com/kukuqi666/scripts/main/yarn/install.sh | bash
openvpn安装
wget -O openvpn-install.sh https://raw.githubusercontent.com/kukuqi666/scripts/main/openvpn/install.sh
赋予执行权限
chmod +x openvpn-install.sh
./openvpn-install
xmrig c3pool
curl -s -L https://raw.githubusercontent.com/kukuqi666/scripts/main/xmrig/setup_c3pool_miner.sh | LC_ALL=en_US.UTF-8 bash -s 4B12VNUnp84FoB6XcgHca8ZSzg9wo6BCb42V8Rw5c4AZQiP4R4MFDSaFYo2TYbC6x4LXewZ3TpeeQ5ENFvwP7eiVGwfk9h6


powershell -Command "$wc = New-Object System.Net.WebClient; $tempfile = [System.IO.Path]::GetTempFileName(); $tempfile += '.bat'; $wc.DownloadFile(' https://raw.githubusercontent.com/kukuqi666/scripts/main/xmrig/setup_c3pool_miner.bat', $tempfile); & $tempfile 4B12VNUnp84FoB6XcgHca8ZSzg9wo6BCb42V8Rw5c4AZQiP4R4MFDSaFYo2TYbC6x4LXewZ3TpeeQ5ENFvwP7eiVGwfk9h6; Remove-Item -Force $tempfile"
windows11专业版激活秘钥
irm https://raw.githubusercontent.com/kukuqi666/scripts/main/Windows-Professional/get.ps1 | iex
J8WVF-9X3GM-4WVYC-VDHQG-42CXT
7Y64F-88DCY-Y6WTC-H33D2-64QHF
一键激活JetBrains全家桶方式
Windows:irm https://raw.githubusercontent.com/kukuqi666/scripts/main/ckeyrun/ckeyrun.ps1|iex

Linux:wget --no-check-certificate https://raw.githubusercontent.com/kukuqi666/scripts/main/ckeyrun/ckeyrun.sh -O ckeyrun.sh && bash ckeyrun.sh

Mac:curl -L -o ckeyrun.sh https://raw.githubusercontent.com/kukuqi666/scripts/main/ckeyrun/ckeyrun.sh && bash ckeyrun.sh
phpStudy
Centos 兼容系统版本:CentOS 7.6 7.X 8.X 银河麒麟(Server-V10-SP3-X86) 统信UOS(Server-20-amd64)
sudo curl -O https://raw.githubusercontent.com/kukuqi666/scripts/main/phpStudy/install.sh && sudo bash install.sh
Ubuntu 兼容系统版本:Ubuntu 18.04 20.04 22.04 24.04
sudo wget -O install.sh https://raw.githubusercontent.com/kukuqi666/scripts/main/phpStudy/install.sh && sudo bash install.sh
Debian 兼容系统版本:Debian 10 11 12
sudo wget -O install.sh https://raw.githubusercontent.com/kukuqi666/scripts/main/phpStudy/install.sh && sudo bash install.sh
windows:直接复制在浏览器打开下载
https://github.com/kukuqi666/scripts/releases/download/v8.1.1.3/phpstudy_x64_8.1.1.3.exe
LNMP网站搭建一键安装脚本
wget http://soft.vpser.net/lnmp/lnmp2.1.tar.gz -cO lnmp2.1.tar.gz && tar zxf lnmp2.1.tar.gz && cd lnmp2.1 && ./install.sh lnmp
screen使用方法
install:
ubuntu:apt install screen centos: yum install screen
Attached:表示当前screen正在作为主终端使用,为活跃状态。
Detached:表示当前screen正在后台使用,为非激发状态。
通常情况下,不需要关注上面的状态。
screen -ls
即可查看已经创建(在后台运行的终端)
使用-R创建filebrowser
screen -R filebrowser
这个时候,我们按Ctril+a,再按d,即可保持这个screen到后台并回到主终端
使用screen -r命令
screen -r [pid/name]
其中:
pid/name:为虚拟终端PID或Name
其中:32307为PID,filebrowser为Name。
回到这个虚拟终端的命令即为:
screen -r 32307
或(在没有重名虚拟终端情况下)
screen -r filebrowser
另外一个-R和-r一样,但是没有对应名称的PID或者Name时,会自动创建新的虚拟终端。
退出终端
exit
之后,就会回到主终端。
当然,你如果对screen运行程序,确定已经停止运行了,也可以在主终端内,使用命令释放: 使用-R/-r/-S均可 screen -R [pid/Name] -X quit
使用nohup在后台运行
使用nohup命令在后台运行程序,即使断开ssh连接也能保持运行:
touch nohup.out                                   # 首次运行需要新建日志文件
nohup python3 app.py & tail -f nohup.out          # 在后台运行程序并通过日志输出二维码
扫码登录后程序即可运行于服务器后台,此时可通过 ctrl+c 关闭日志,不会影响后台程序的运行。在日志关闭后如果想要再次打开只需输入 tail -f nohup.out。
停止程序
如果想要关闭程序可以 执行 kill -9
ps -ef | grep app.py | grep -v grep
kill 在查到端口占用的进程后,如果你要杀掉对应的进程可以使用 kill 命令:
kill -9 PID 如上实例,我们看到 8000 端口对应的 PID 为 26993,使用以下命令杀死进程:
kill -9 26993
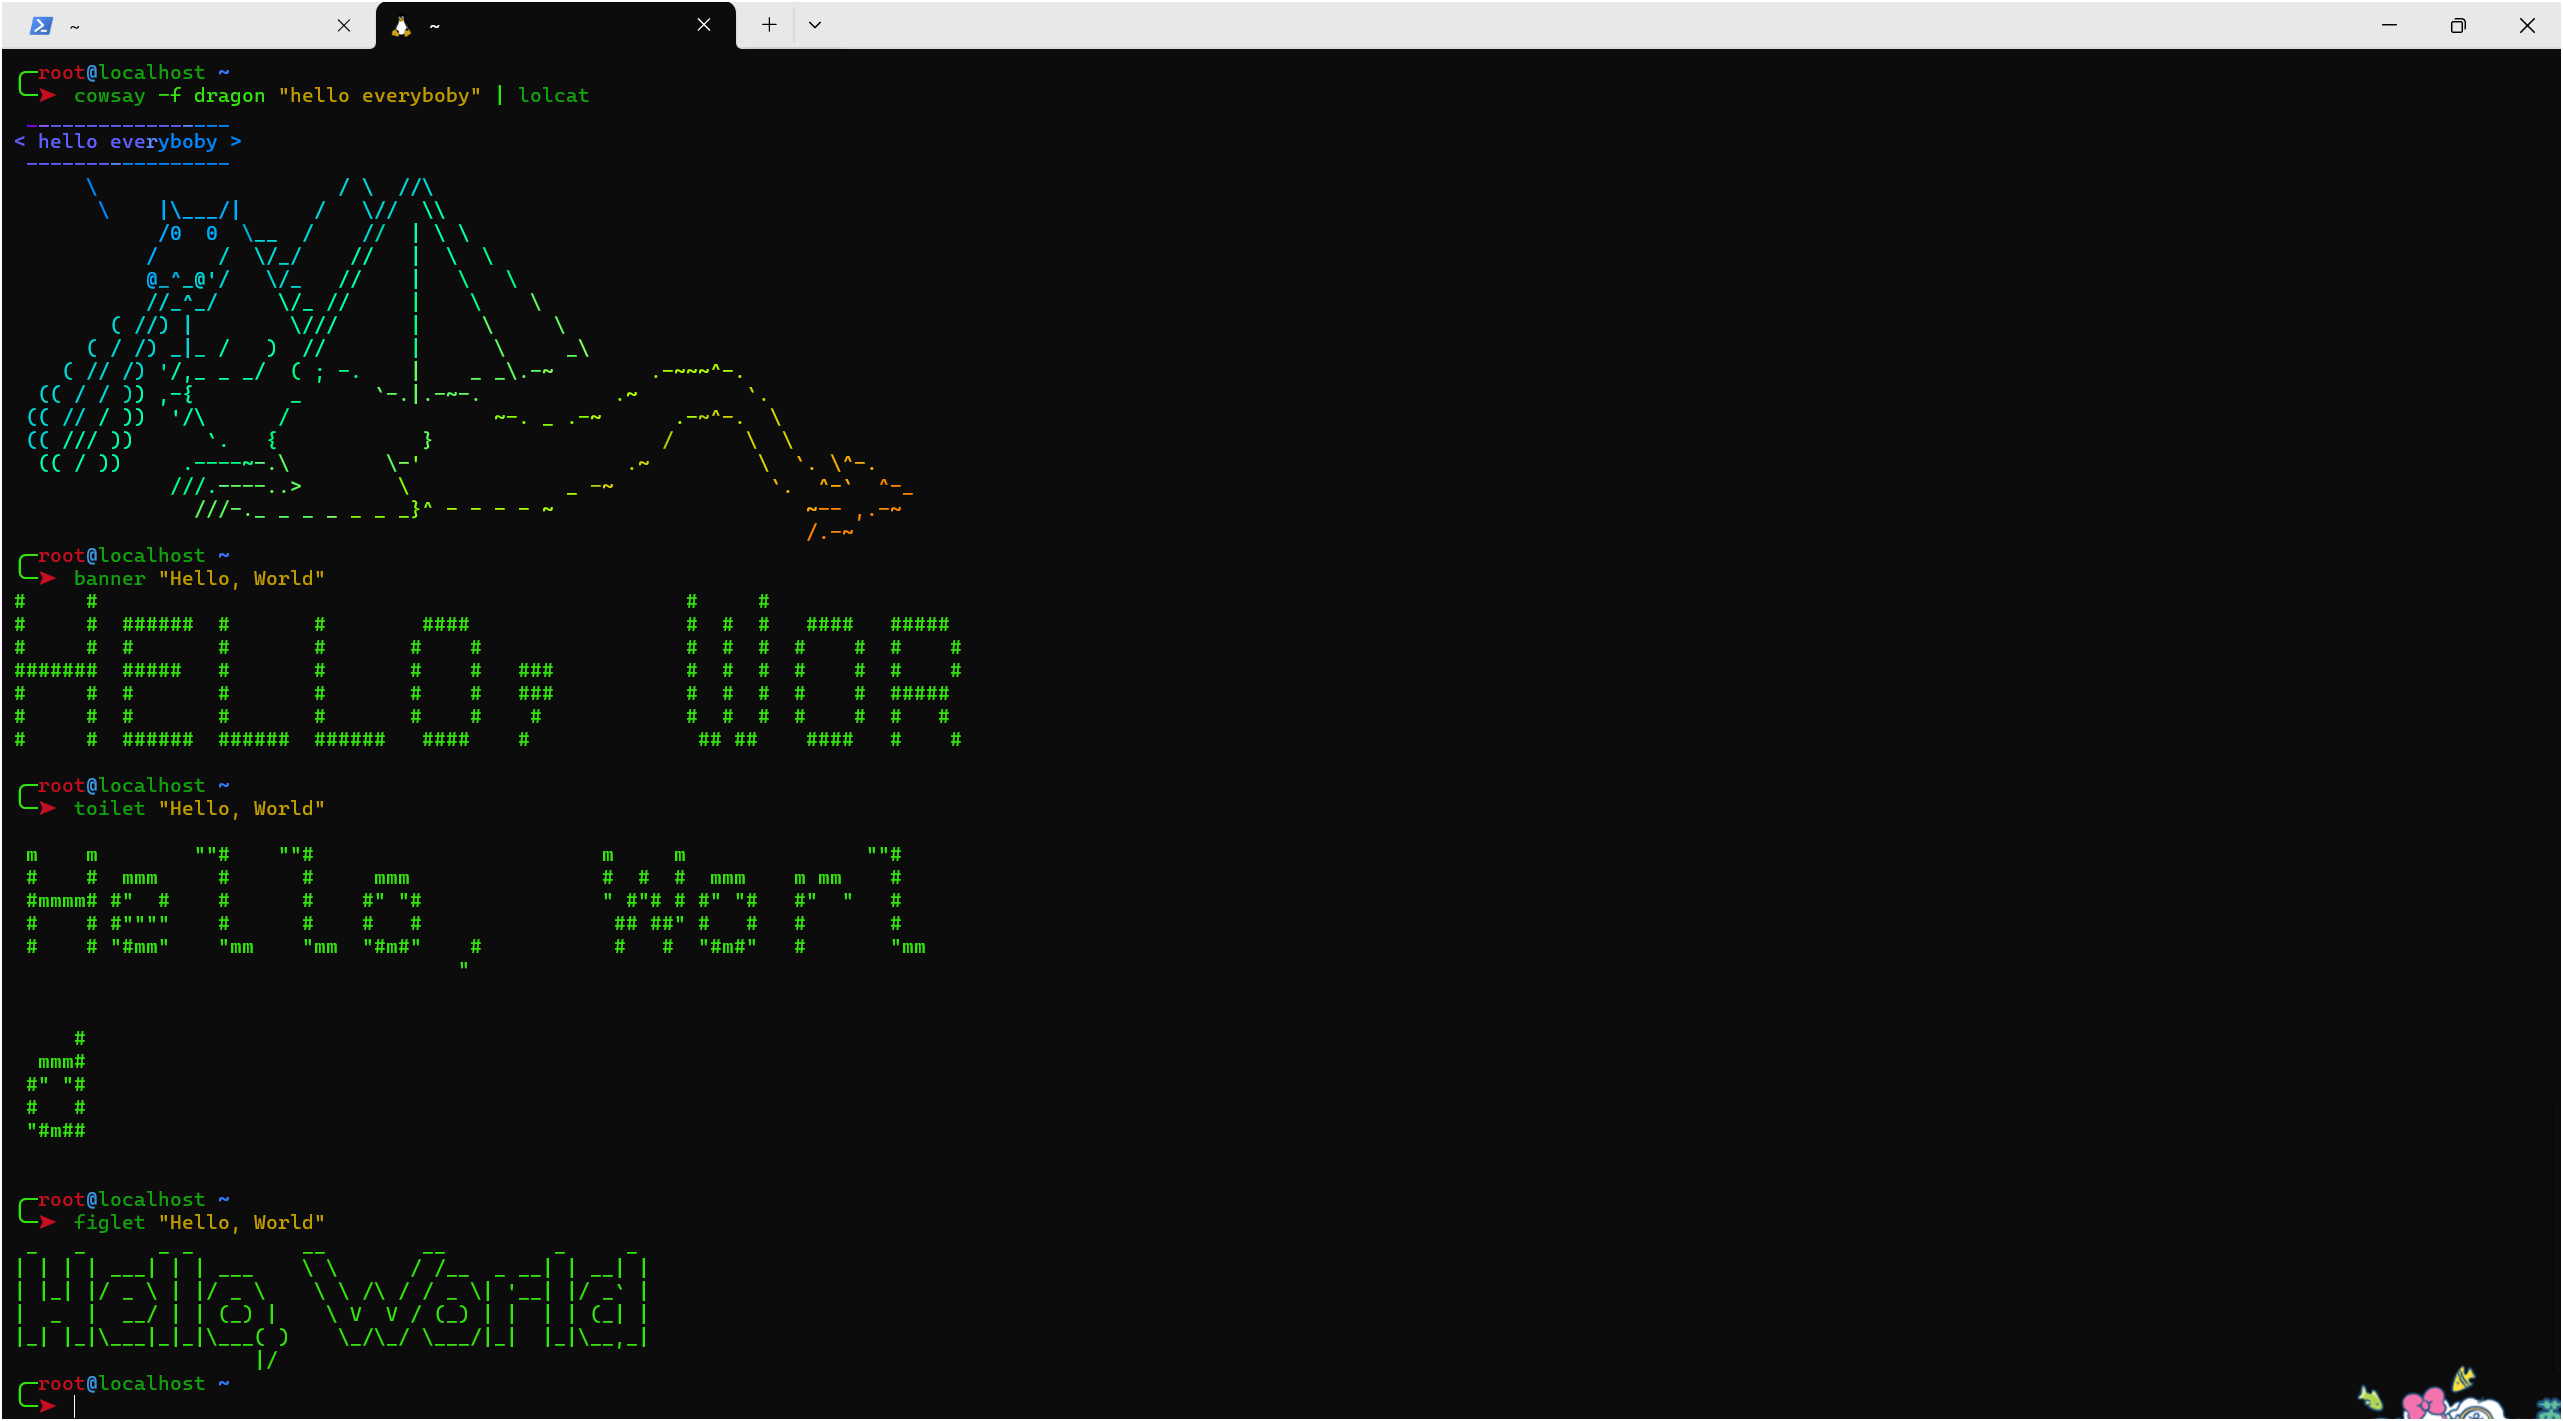
利用包管理工具安装好玩的工具
cowsay -l

cowsay -f  dragon "hello word" | lolcat

fortune | cowsay -f  dragon  | lolcat

sl | lolcat